09 10

SIGN UP FOR OUR NEWSLETTER!

Showing posts with label Things for boys. Show all posts

Thursday, 6 February 2014

Jolly the Giraffe

Jolly the Giraffe - pattern from Crafty Creatures by Jane Bull
Remember the lovely purple dress I took the scissors to so I could use it to back my chevron crochet cushion?

I am still making things out of the dress scraps, and, this time it is something to give back to the original wearer.

Mum has just been up for the week, on `Grandma duty', while my back recovers after surgery (am now into the sixth and final week of not picking up Charlotte - hurray!). It has been lovely (having Mum here, that is - not picking up your own baby is as frustrating as you would imagine it to be).

We made quite a few things between us - some finished projects which I'll post about in time, and others that are still works in progress. This giraffe was one of several things from a book Mum bought with her - Crafty Creatures, by Jane Bull. I can definitely recommend it.

No prizes for guessing where the pictures were taken. Well, it would have been rude to let Mum go home without at least one trip to my favourite place for cake, wouldn't it?


And while we tucked into our treats, Charlotte chewed her way through each of her giraffe's limbs. Very soggy. But she most definitely likes her new toy - and so gone is any guilt I may have had about cutting up her beautiful little dress. It is bringing her more pleasure this way than if I had kept it in a box for her to bring out and glance at when she is grown up.

And that is all I have time to say today. Soon the girls will come bouncing home from school, and the chaos begins again. Yesterday, inspired by the book Mum gave us, we started making three little ponies. On a whim. I think our house is a mad house. Most parents in their right mind do not decide to embark on a crafty project after school just because their children have spotted something that `might be nice to make'. But, dinner was in the oven (my new favourite lazy but surprisingly healthy dinner of roast chicken and jacket potatoes), and all was calm. More about that when we have something finished to show you...

Monday, 27 January 2014

Scruffy Cat Pencil Case


The back is recovering pretty well. Not as quickly as I'd like (meaning I am not yet running round the park and the actual area where the surgery was gets sore if I do too much) but doing okay. I haven't needed any painkillers whatsoever for over a week now, and, I can put my socks on myself without needing my four year old to help me. 

And now that my leg doesn't feel like it is going to explode each time I sit down, using my sewing machine is an appealing prospect again.


This pencil case is not going to set the sewing world alight, but, it seemed to make the three year old birthday boy happy when we gave it to him. He likes cats, fluffy things and the colour blue.


Children with birthdays so close to Christmas are always tricky to buy for. I find this with our own little Elizabeth (who has her birthday on New Year's Day). So, having asked his mum what he might like, the reply was a set of felt tipped pens. Small things - like owning your own set of pens and not needing to share your sister's - count for a lot when you are the youngest.


The birthday boy had requested we all came to his party dressed in his favourite colour.

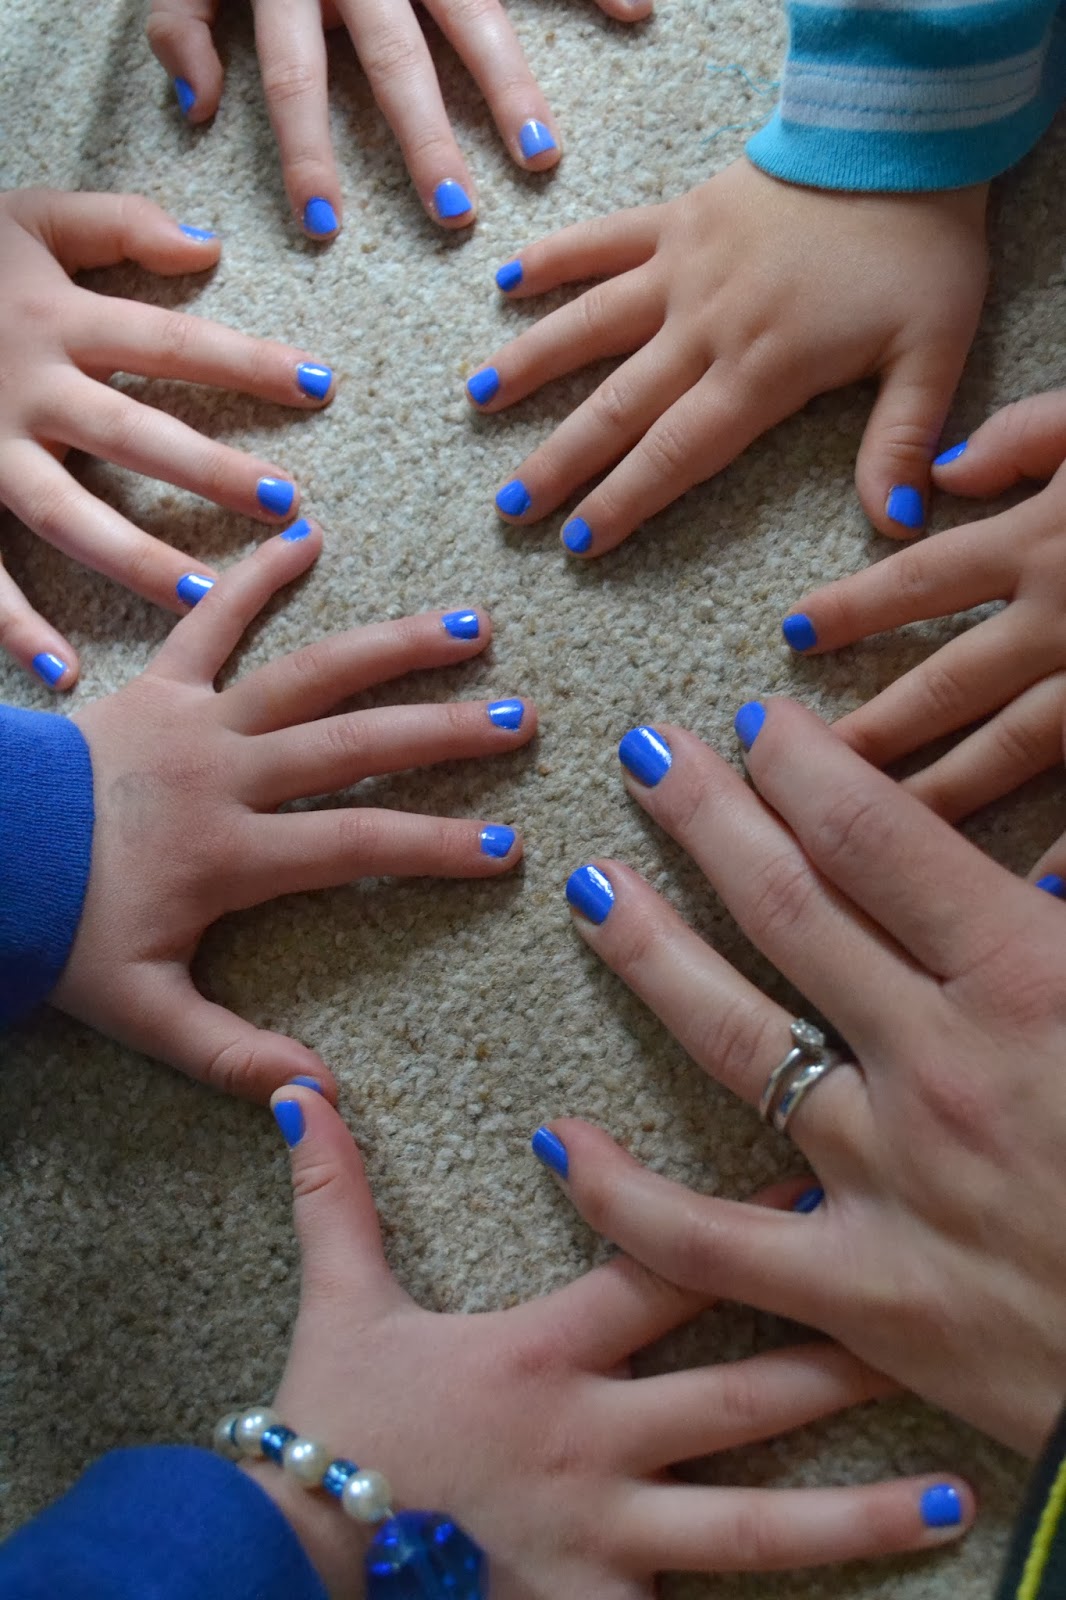
In a pleasing, `I have just the thing' moment (thanks to my friend, Iciar), I offered to paint everyone's nails blue. The girls LOVED this. It was the first time they'd had their nails painted by me - the treat had an unexpected bonus as they sat super still, patiently waiting for their nails to dry for an entire twenty minutes. Needless to say I will be tactically offering to paint their nails for them all the next time I feel the need for them to all calm down and give me some peace and quiet.

The middle girl particularly enjoyed the sight of her brightly coloured nails for the day - and at the end of it, she and I struck a bargain. I have agreed to repeat the experience next weekend if she practises her reading with me every day this week. And, if she tries extra hard and gets to ten reads, I'll do her toes, too. I don't really go in for girlie girlie stuff with them, but, well, sometimes (especially with the middle girl) pragmatism works better. Whatever motivates her to read without an argument or chasing her round the house with her reading book...


Monday, 29 April 2013

Proud


Yesterday is a day I hope I remember when I am a little old lady in her eighties. In fact, I hope it brings a big smile to my face much sooner than that - like maybe on the mornings when I have spent more hours awake with a newborn than asleep, causing me to feel a tiny bit bleary eyed and grumpy with the world in general.

Bike Bucket tutorial by NoodleHead
Not one, but two of our girls cracked that childhood milestone of riding a bike without stabilisers. Woooooo-hoooooo!


I am full of pride about this fact. And, so are they. Indeed, any person who has held a conversation of more than a sentence in length with any one of us in the last 24 hours is probably well aware of just how excited and proud we are all feeling.

It has been a long time coming. Or, at least it has felt like that. Especially for the six year old, who seems to have had a bike forever, watching as each of her friends ditched their stabilisers and sped off into the distance.

Yesterday was their turn. The eldest one did it first. Taken out to the park by Daddy, who vowed they weren't coming back until they had it cracked. Half an hour later, I had a call from a very excited pair. And then it was the middle girl's turn.

The sight of them peddling about with big grins on their faces has had me jumping up and down cheering in the middle of the street. Funny thing, being a parent. Right now, I am struggling to think of anything I myself have done recently that has made me this excited and proud.


Last summer, after spending an afternoon watching the Olympic time trials on TV, the girls and me had gone out the back so they could get on their bikes. It was the middle girl who was keenest. And, faster than her big sister. And she knew it - "I'm Bradley Wiggins, and you're Chris Froome", she'd taunt as she peddled past her.

On that day, as the eldest girl was moaning that she didn't have a basket or toy seat (as the middle girl Bradley was smiling as she painstakingly spun out the process of strapping her teddy into the pink toy seat that came on her bike), I promised  her I would make her her own special basket when she worked out how to ride without her stabilisers. I had hoped this would motivate her, but, on that particular day, it just led to more grumpy complaining.

More time passed, with a fair few bike outings ending in frustration and impatient clashes between mother and daughter, her bike firmly returned to the garage with neither of us in a rush to get it back out again any time soon. Anyone would think we have similar temperaments and are capable of winding each other up as a result. It is just as well they have two parents, really. I am happy - and grateful - that Daddy was the one to get them to this important milestone in their little lives.


So, here are two bike buckets. I let them each choose the fabric they wanted (from what I had in the house) and set about fulfilling my promise. It's the least this ridiculously proud Mummy could do.

As for them, they are delightfully proud of themselves. They cannot wait to get out on their bikes - even to the point of rushing to be ready for school early enough to get out on them and peddle to school.

And that Olympic legacy we all like to refer to so much is real. When the middle girl fell off her bike yesterday, she got straight back on. "That's what the man on the Olympics did, Mummy." So it was, I thought.

Sunday, 30 September 2012

Wilma's Story


Meet Wonky Wilma. She came into existence as a result of my middle girl asking me for a purple elephant for Christmas last year. Or, should I say, asking Father Christmas for one (for she still believes the Elves made this toy especially for her).

Almost a year on, the elephant is most definitely her favourite toy. Wilma has been much admired by other children, and much loved by her owner, too. The middle girl insists on taking her to bed, and, if she can get away with it, just about everywhere else she goes. As a result, she has already needed several `baths' and `swimming trips' (aka. the washing machine). Wilma has most definitely been one of the most gratifying bits of sewing I have ever done.

With the colder weather this last week or so, and the nights drawing in too, I couldn't help but start thinking ahead a bit, and wondering what this year's request(s) might be. And, then an idea popped into my head.

What if I refined my original pattern a bit, so that it was up to scratch for people reading this to try making their own versions of Wilma? What a lovely thought, to think of loads of different wonky elephants being unwrapped by little ones this Christmas.

Then I got to thinking, how about using it as a way to make money for a children's charity. Like this one. Without sounding all earnest, I am flipping lucky to have three healthy little girls that wake me up every morning with their singing/chatting/arguing/dashes to the loo.

So I got to thinking it would be just brilliant if some of my lovely readers decided to give, say, a fiver, make a Wilma, and spread the word whilst they were at it. I have started wondering how many people might be persuaded to make one by Christmas. And then, in a `Carpe Diem' kind of way, I thought to myself, `then do it, Janet'. Stop wondering, and get on with it.

So who is with me?

The plan is for the pattern to go live in the next couple of weeks - from which point people will be able to donate here to get their patterns and get making their own versions of Wilma. I'll be shouting about it plenty when the launch happens, so you'll all know about it.

In the meantime, if you have a blog, please, please, pretty please consider spreading the word. After much head scratching (and help from Google), I've made a button for you to help yourselves to - just on the right hand side of this page (fingers and toes crossed it actually works - please let me know if you experience any problems with it!).

And, if you don't have a blog, then please click the Facebook or Twitter buttons at the bottom of this, and help me get the word out this way. I just think it'd be lovely to join together and make a ton of cash to support the rather splendid work that goes on at Great Ormond Street Hospital, that's all.

Let's see how much we can raise, shall we?

Saturday, 15 September 2012

Last Minute Birthday Gift


Last night, I remembered I had not sorted out a birthday present for the joint sibling party we were due to be going to this afternoon.

Granted, I could have just resolved to pop to the shops this morning, and the problem would have been solved. But, I'd already got a home made gift ready made for the big sister, and, wanted to make something for the little brother, too.

I toyed with making this or that, but sadly, couldn't find any big enough pieces of decent prints or colours in my stash that would suit a little boy (hmm - I wonder why that is?). If only I had planned things a bit more in advance.

So, I went for something I know is a birthday favourite in our house. Number t shirts!

I knew I had a couple of blank t shirts left from the packs I'd bought for PE kits, and coupled with some Bondaweb and scraps, I was ready to whirr into last minute birthday gift action.


I was lucky to be given these cool scraps by my sewing friend, Stacie. Aren't they great? Sadly, I don't think you can get hold of them now (please let me know if I am wrong on this front!), and so Stacie had very kindly given me the scraps leftover from her own fabulous Jubilee themed sewing projects earlier on in the year.

The patch work effect was done out of necessity - the scraps are small and some of them oddly shaped.

I like the overall look, though, and it just goes to show that all those scraps are worth keeping. They will come in handy one day - it's just a matter of waiting for the inspiration to strike.

The party was lovely. Highlight for me was the sight of the two gorgeous tiered cake stands the host had made, using mismatching vintage china. They looked utterly beautiful, and the perfect thing to show off the pretty lavender cakes that had been made for the parents to enjoy. Wish I'd had my camera - but, well, you know what I'm going to be scouring the charity shops for next..!

Sunday, 26 August 2012

How to make a PE bag


It's only a week and a bit left until the new school year (was that the sound of cheering amongst the mums?), I thought I'd give you some simple step by step instructions on how to make very simple PE bags. I promise you they are really easy to make, and hey, if you already have some fabric you could use, then it's one less thing to fork out for.

If you're buying fabric, you need some for the outside and some for the lining - I used upholstery weight. The amount you'll need for one bag is enough to make two bags. So, ideal if you have two children, or a bonus potential emergency birthday present to stash away in a cupboard for when the whole class birthday party invitations start rolling in.

You'll need:

Fabric A (outside) - one big piece measuring 42cm (height) x 70cm (width)
Fabric B (inside) - one big piece measuring 48cm x 70cm AND one little piece 10cm x 15cm
Thick cord - 1.5metres
Thread to match Fabric B
Scissors
Fabric pen or ball point pen and big set square or ruler
Sewing machine
Iron
And, of course, a big mug of tea at your side...

So, on with the show.


Measure your fabric pieces. You need a big rectangle of each fabric - the lining piece should end up being about 6cm higher than the outside piece.


I use a disappearing fabric pen and big set square to draw straight onto the fabric - it wouldn't matter if you used an ordinary pen though.

Don't forget to cut a little rectangle, too - this will be for making the loops at the bottom of the bag, and we'll be sewing those first.

Evidence I can make things that are not pink!

It's the day of the biggest girl's birthday tea party. I put this here as evidence that I don't always whirr into home made loveliness for party bags - and you might wonder why on earth I am sat at my computer when I have a child's party looming. Procrastination, of course. See the THREE slabs of butter to the edge of the picture? They are waiting to be used for butter icing to smother over a big square cake until it looks like a princess castle. Which, by the way, darling daughter only requested a couple of days ago.

Those left over crispy bits couldn't possibly fit into another cake... (perk of job)
Ready to get going? (Tea still warm enough to be drinkable?)


Fold the little rectangle in half lengthways and sew a seam. My seams throughout this are about half a centimetre (i.e. lining the edge of the fabric up with the presser foot).


Give the seam a quick press open, and then push the tube you have made out the right way.


Press the tube, and snip it in half.


This may seem reckless (won't the seams come undone...?), but in this context, it will not matter at all, because the ends will soon be safely tucked up inside another seam.


Time to make the bag itself! Take the outer fabric, fold it in half so the shortest sides are meeting and the right side of the fabric is hidden.


Sew a seam, and press it open. If you really dislike ironing, the bag won't fall apart if you skip the ironing bits. Ironing at each stage gives the bag a nice crisp, professional finish - but, not forgetting it is still a bag destined to be crumpled amongst a pile of other PE bags at some point or other, so you have my permission to be a little lazier than normal when making this.


Once you have sewn your seam, take your little loop tabs...

The seam should be positioned in what will be the centre back of the bag - I have mine
slightly off centre, because I wanted to line the shoe print up so the shoes were centred.
Fold each one in half so that the seam is hidden, and position it at the bottom corner of the bag.


Gratuitous picture of chocolate brownies. (For the parents coming to the party)
Pin the tabs in place, and sew a big line the whole way across the bottom of the bag to sew them in place. I like to reinforce the tab seam a bit with some zig zag stitching, as this'll be the part of the bag that takes the strain (of all those toy bricks your children will be filling it with when not using it for its proper use).


Turn the bag the right way out... and iron it again.


Make the lining. Bring the two short sides of the lining piece together, just like you did with the outside piece.


Iron the seam open, and then sew a seam at the bottom of the lining. Once you've done that, iron a 1cm lip at the top of the bag - so that it is ironed outwards towards the wrong side of the lining.


Put the lining inside the bag - the wrong sides of the lining and bag should be touching. Get your hands inside and push the corners of the lining into the corners of the bag. Put a pin in each corner to keep the lining in that position whilst you sew.


Fold and iron over the extra long bit of the lining, and pin in place as you go. The finished channel I have made here measures 4cm - this is where the cord is going to be threaded through.


Sew the channel to the main bag - try and stay close to the edge. Start at the seam at the back of the bag, and leave a 2cm gap (to thread the cord through). To stop the opening coming undone, I made a little `L' shape at each end, as below, and backstitched carefully.


Apologies if this step is a bit obvious, but to overcome the annoyance of fraying cord, I just wrap a bit of sticky tape round the middle, and snip of the frayed bit.


Use this end, along with a safety pin through it, to push the cord through the channel and thread up the rest of the bag.


Finished!


Time for another cup of tea, as you imagine the future glory you will enjoy in the playground, when other mums ask you where you bought that lovely PE bag from...

Thanks for reading - please feel free to share this link!


Monday, 20 August 2012

I took my sewing machine on holiday with me

In my defence, I was on my own with the girls for most of the week in Blackpool, as my hubby had to be back home for work.

Did I miss him? Of course. But every cloud has a silver lining, and all that - and on this occasion mine came in the form of my sewing machine as guilt free company in the evenings once the girls were tucked up in bed.


So, with no fixed plans of what if anything I would sew - aside from maybe come good on the promise of a PE bag for my niece who is about to start school - here is what I tipped out onto the carpet of the flat on the first night I was on my own.


I went for the easy option of making a drawstring PE bag. And then, inspired by a brilliant day on the beach, I extended the one bag into five. Three for my own little girls, one for my niece (who very refreshingly, informs me her favourite colour is blue, hence the beach huts and bunting print for hers), and another gift for someone else. They took all of a couple of hours to sew the lot from start to finish - nothing like a gratifyingly quick and simple project!


Predictably, when presented with the choice, my own girls all went for the pink shoe fabric. It is rather lovely, and even has a few sparkles on it to boot, and so I can't really blame them.


These little bags were great for the beach - the girls all loved using them, and it meant they happily carried their own stuff around when we were out and about during the rest of the week. Big bonus.


True to form, of course, the schizophrenic weather took a turn - after granting us a gloriously sunny day, we were treated to clouds and, later, torrential rain. Still, the concrete promenade is perfect for whizzing along on scooters, so they were happy even when the tide or weather meant they couldn't get onto the beach.

"We can go on the beach now, Mummy!"
These little bags are genuinely easy to make - and lend themselves nicely to fun fabrics, too, making them nice and distinctive from the usual uniform drawstring bags you can buy from school. I'll stick a simple step by step guide up here in another week or two, just in case anyone fancies making one or two for their own little school starters. My middle girl starts reception in September, and is excited about taking her new bag to school.

Monday, 21 May 2012

Tree Climbing Trousers

Dresses and skirts are lovely for little girls who like twirling around and dancing. My three all like them. But there are times when trousers are what's needed. Like tree climbing.


My eldest girl loves climbing trees - there are some perfect ones for climbing at the park near where we live, and I regularly find her disappearing off from the playground in search of her favourite `climbing trees'.


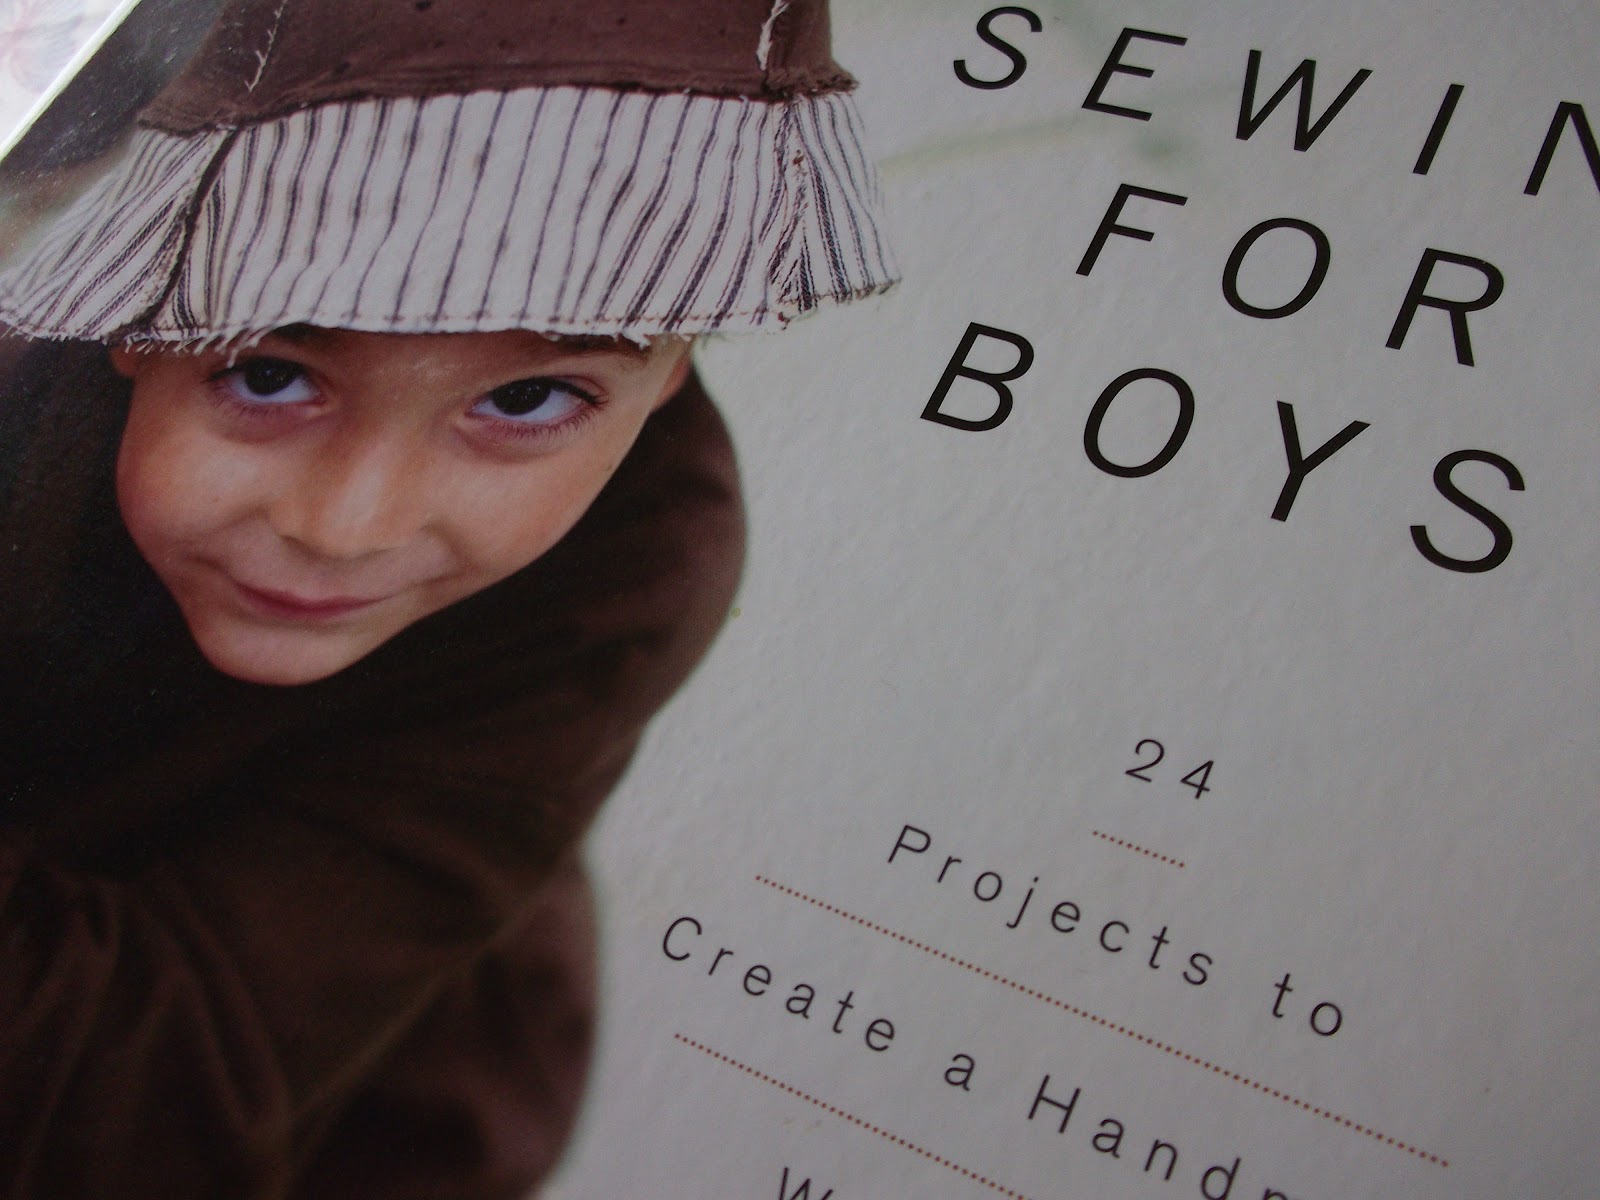
The pattern I used was the Treasure Pocket Pants from `Sewing for Boys', which I'd bought for some inspiration for projects to choose for my latest Children's Clothing Course.


It would be fair to say it was an instant hit with my girl, who put them on straight away and headed out the door to test them out on the apple tree in our garden...


And, as her little sister looked on enviously, I think I'll be making more of these before too long. And maybe some as shorts, too?


I did a quick bit of applique on a plain t shirt, using scraps, buttons and Bondaweb, to tie in with theme on the side panels on the trousers.


With plenty of play friendly clothes, and nice clear instructions that are easy enough for people with a few basic sewing skills to try, this book is definitely worth a look - whether its boys or girls you have.